Overview
This article delves into the mastery of equivalence point chemistry in titration, underscoring its critical role in accurately determining solution concentrations during chemical reactions. It elaborates on essential techniques for identifying the equivalence point, including the use of visual indicators and pH measurements. These methods are vital for ensuring precision in quantitative analyses, particularly within pharmaceutical applications, where accurate measurements are paramount for ensuring product safety and effectiveness.
Introduction
Understanding the intricacies of equivalence point chemistry is essential for anyone involved in quantitative analysis, particularly in the pharmaceutical industry. This pivotal moment in titration signifies the completion of a reaction and serves as a gateway to accurate concentration calculations and quality control. Mastering the techniques to identify and calculate this critical juncture effectively presents a challenge.
What strategies can be employed to ensure precision in titration?
How can one avoid common pitfalls that may lead to erroneous results?
By addressing these questions, we can enhance our approach to this fundamental aspect of analytical chemistry.
Define Equivalence Point in Titration
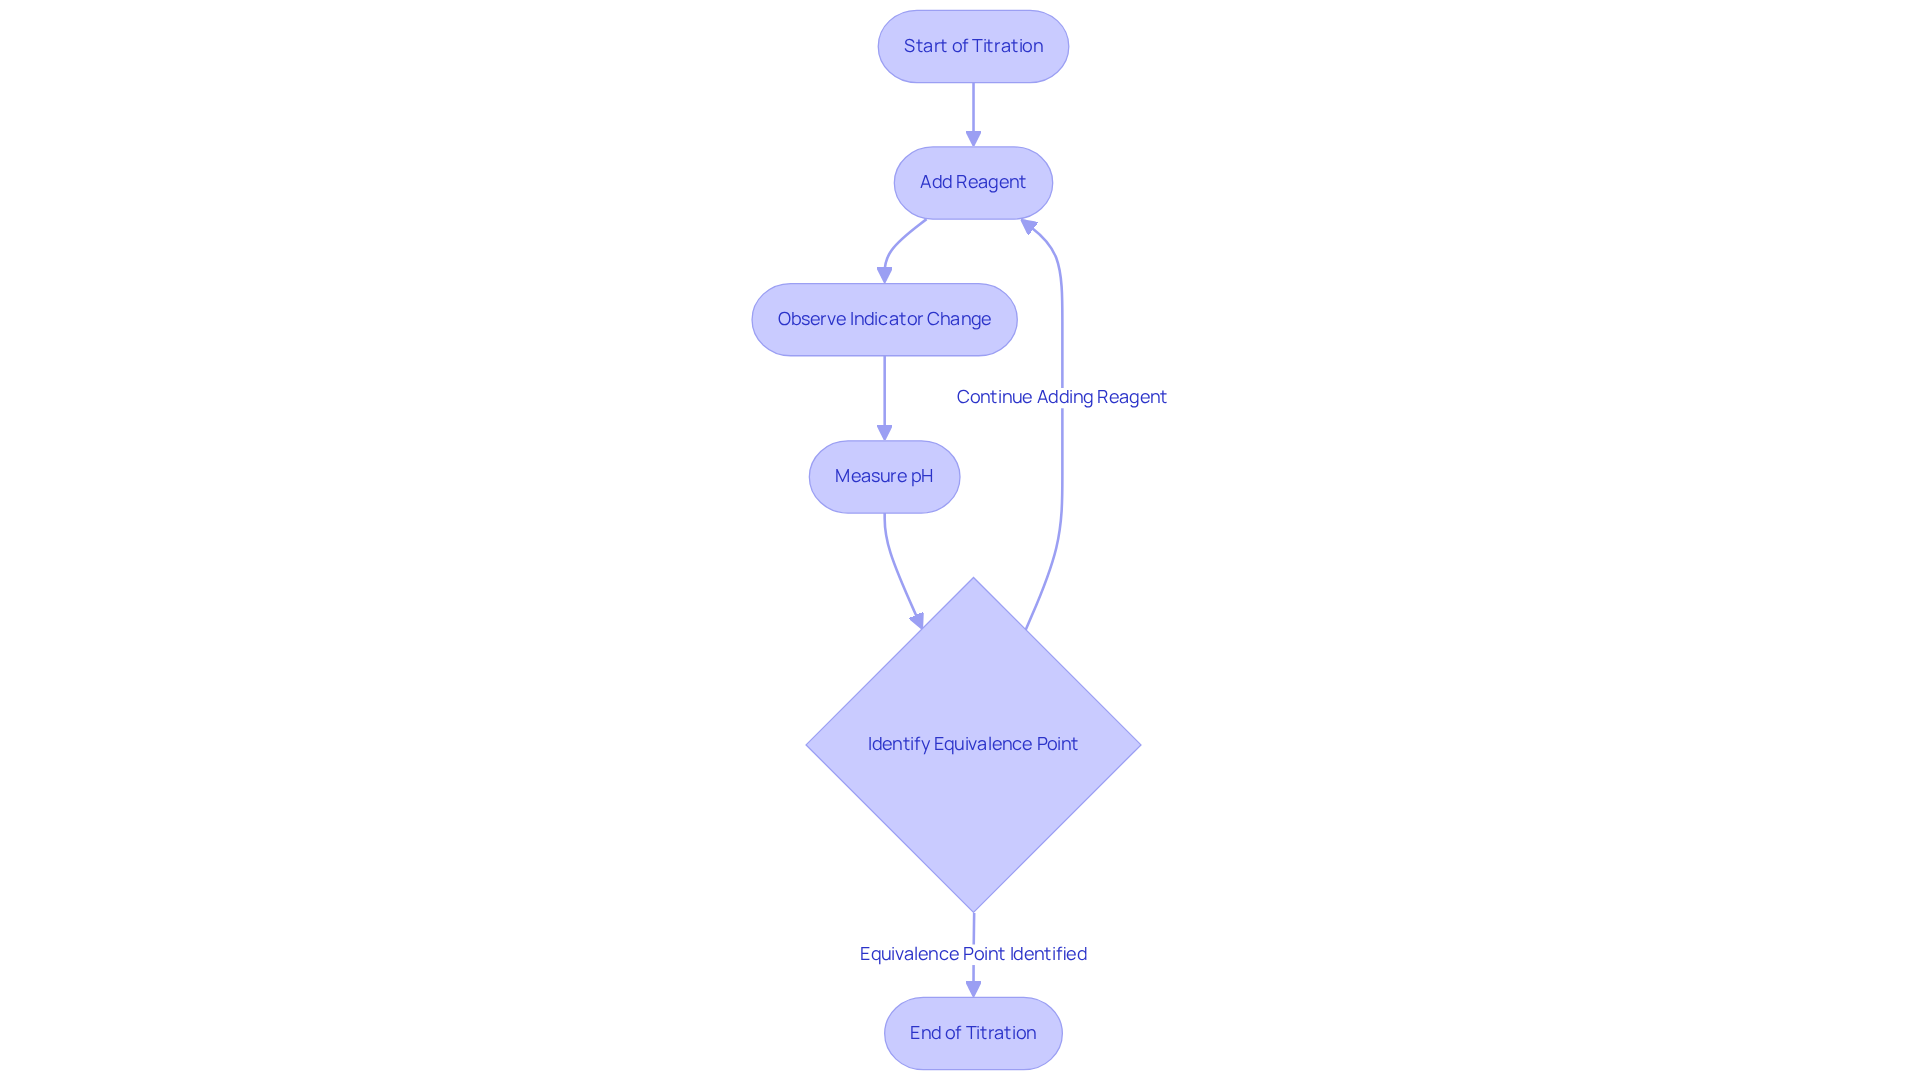
The neutralization stage in the process represents the precise moment when the volume of reagent added is exactly sufficient to neutralize or interact with the substance in the solution. This critical juncture marks the completion of the reaction, which is essential for accurate concentration calculations. Typically, this stage is identified through indicators that display a color change or through pH measurements that indicate a significant shift. Mastery of this concept is vital for conducting quantitative analysis with precision and for interpreting results accurately, especially in the pharmaceutical sector where exact measurements are paramount.
In pharmaceutical analyses, the neutralization stage is crucial for determining the concentration of active components, thereby ensuring product effectiveness and safety. Practical applications include the use of Karl Fischer titration to assess water content in pharmaceutical formulations, where recognizing this critical stage is essential for compliance with regulatory standards. Understanding the equivalence point chemistry not only enhances analytical accuracy but also fosters advancements in research and quality control within laboratory environments. This knowledge is indispensable for professionals aiming to uphold the highest standards in scientific inquiry.

Perform Titration: Step-by-Step Guide
-
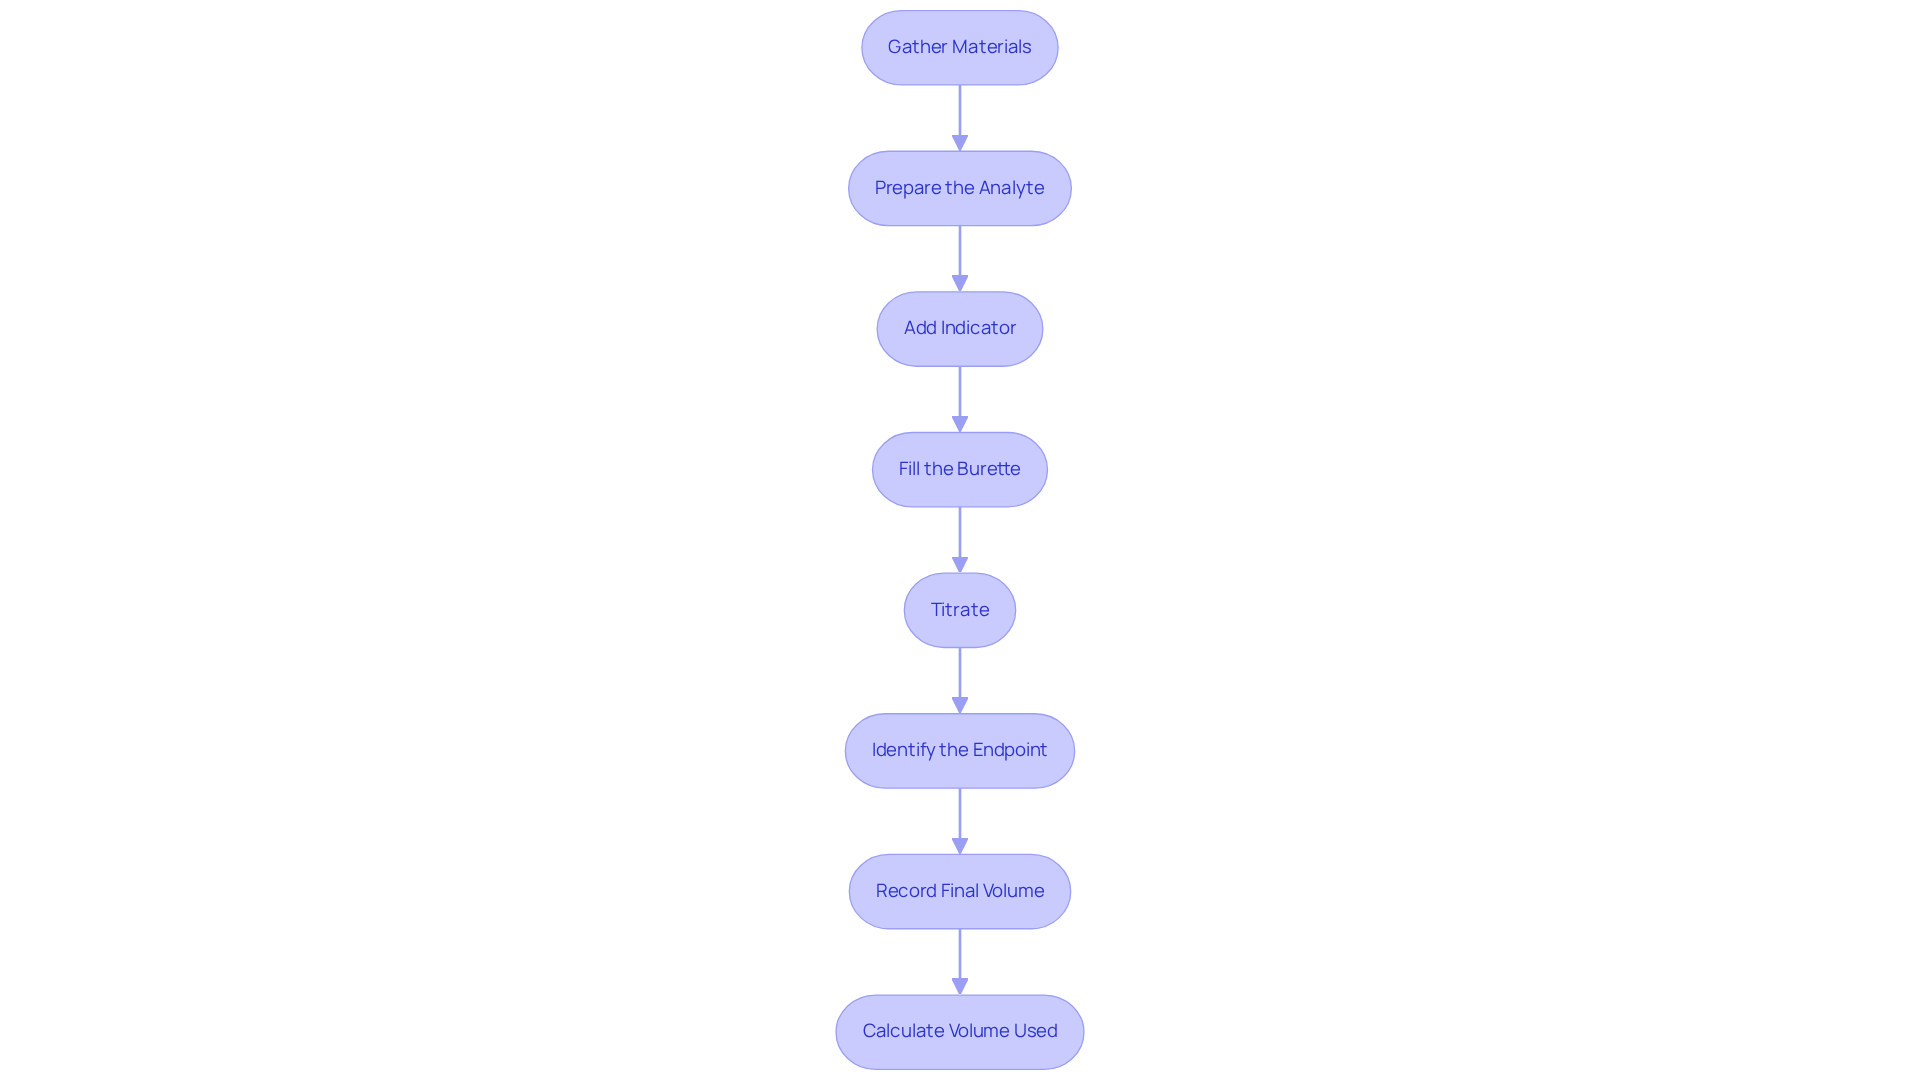
Gather Materials: Begin by ensuring you have all necessary materials at hand, including a burette, pipette, titrant, analyte solution, indicator, and a clean flask. Common indicators, such as phenolphthalein and bromothymol blue, are essential for observing the conclusion of the titration process.
-
Prepare the Analyte: Accurately measure a specific volume of the analyte solution using a pipette, transferring it to a clean flask to prevent contamination.
-
Add Indicator: Introduce a few drops of a visual indicator into the analyte solution. This step is crucial for observing the endpoint of the titration.
-
Fill the Burette: Carefully fill the burette with the reagent solution, ensuring there are no air bubbles that could compromise the volume measurement. Record the initial volume with precision.
-
Titrate: Gradually add the titrant to the analyte while continuously swirling the flask. Watch for a color change or pH shift, which indicates you are nearing the equivalence point chemistry. For instance, in a titration involving 15.0 mL of 0.2 M HBr, 6.0 mL of 0.5 M NaOH is necessary to reach the equivalence point chemistry.
-
Identify the Endpoint: Cease the addition of the reagent upon reaching the endpoint, indicated by a stable color change or a consistent pH reading.
-
Record Final Volume: Document the final volume of the solution in the burette to ensure accurate calculations.
-
Calculate Volume Used: Subtract the initial volume from the final volume to determine the precise amount of titrant consumed in the reaction.
Best Practices: To enhance accuracy, conduct measurements in a controlled environment, utilize calibrated equipment, and ensure all glassware is clean. Regularly check for common errors, such as misreading the burette or neglecting to account for temperature variations, which can affect results. As Apollonia Campbell notes, "The teacher will utilize different indicators to show how they work and why they are necessary."
Case Studies: In a high school chemistry demonstration, students effectively learned to set up and conduct volumetric analysis using various indicators, reinforcing their understanding of acid-base reactions and stoichiometry. This practical application underscores the significance of hands-on experience in mastering titration techniques.
Common Errors: Misjudging the endpoint can result in inaccurate results. For example, overshooting the endpoint may lead to excess reagent, skewing the final calculations. Ensuring a slow and steady addition of the reagent while closely observing the indicator can mitigate this risk. Furthermore, grasping the importance of the titration curve, which varies among different acid-base pairs, is essential for precisely determining the neutralization stage.

Analyze Titration Curves and Their Significance
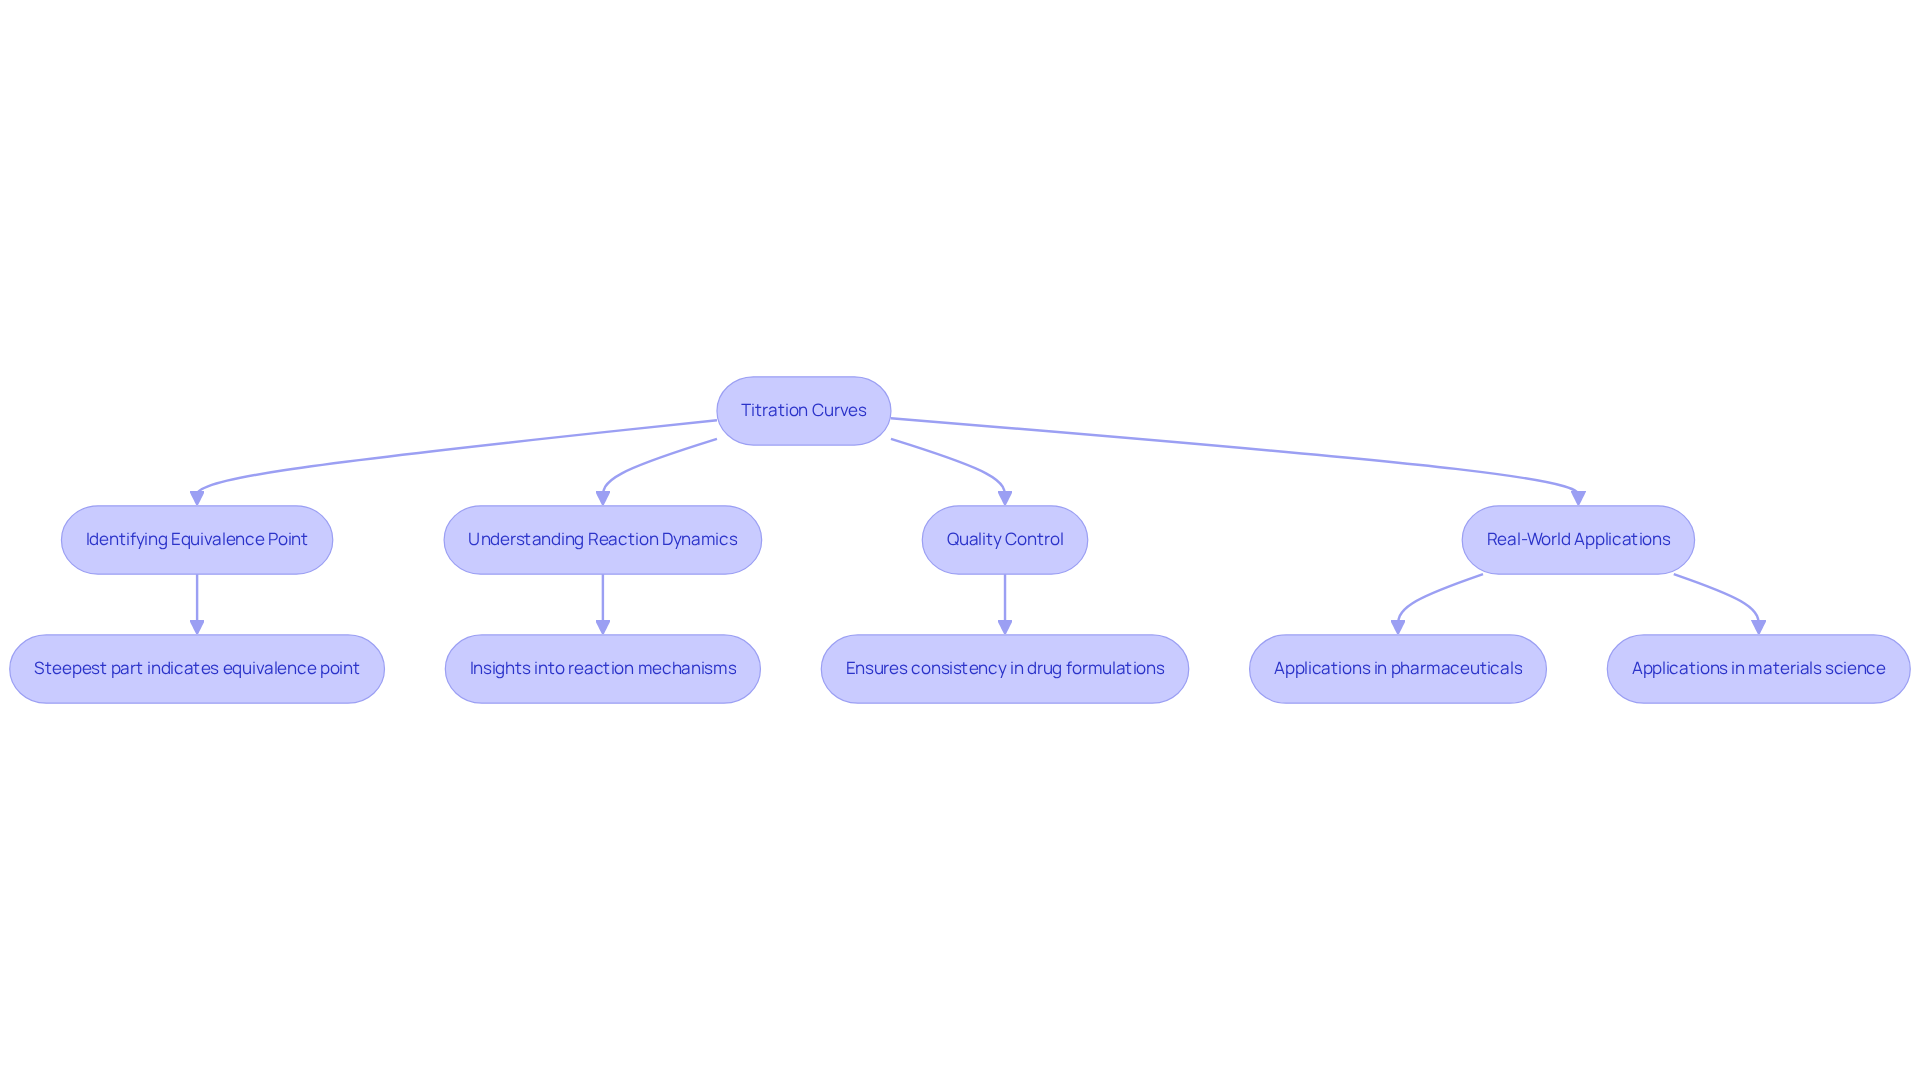
Titration curves graphically illustrate the connection between the volume of reagent added and the pH of the solution. The curve typically displays a gradual shift in pH, succeeded by a sharp increase near the neutralization stage, before stabilizing. Analyzing these curves is significant for several reasons:
- Identifying the Equivalence Point: The steepest part of the curve indicates the equivalence point, allowing for precise determination of the titrant volume needed.
- Understanding Reaction Dynamics: The shape of the curve provides insights into the reaction mechanism and the strength of the acids or bases involved.
- Quality Control: In pharmaceutical applications, analyzing dosage curves ensures the consistency and quality of drug formulations by confirming that active ingredients are present in expected concentrations. A study titled "Curves in Pharmaceutical Development" demonstrates the use of these curves to ascertain the degradation rate of a pharmaceutical compound, underscoring their importance in quality assurance.
- Real-World Applications: Titration curves are pivotal not only in drug formulation but also in assessing the stability of APIs and understanding the kinetics of chemical reactions. Their application extends to materials science, where they help characterize surface properties and functional groups. For instance, a greater concentration of reactants leads to a more distinct transition, essential for precisely analyzing curve data.
By utilizing dosage curves, researchers and quality control specialists can enhance the precision and dependability of their analyses, ultimately aiding the progress of pharmaceutical development and ensuring the safety and effectiveness of medications.

Calculate Equivalence Point: Techniques and Examples
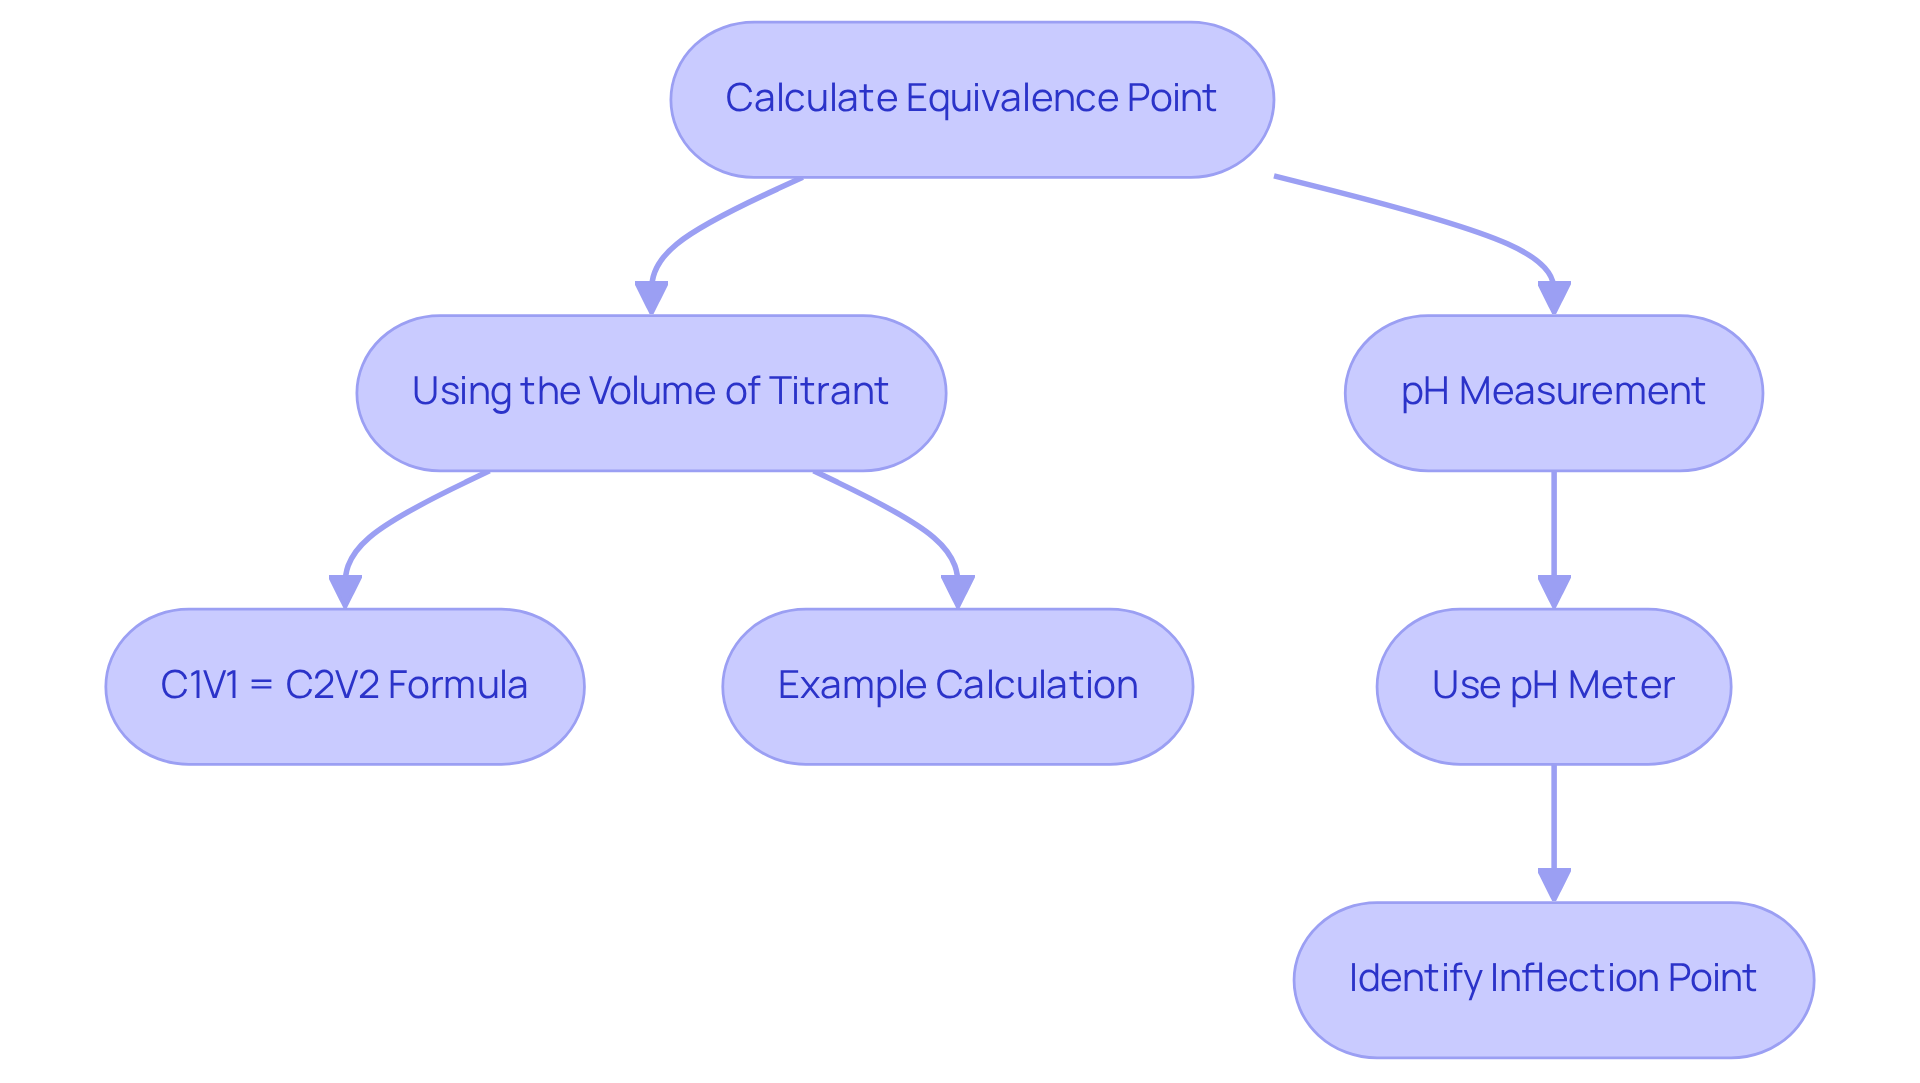
Accurately calculating the equivalence point chemistry in titration is crucial, and several techniques can be employed to achieve this objective.
First, consider Using the Volume of Titrant. Determine the volume of titrant utilized at the equivalence point and apply the formula: C1V1 = C2V2. In this equation, C1 and V1 represent the concentration and volume of the analyte, while C2 and V2 denote the concentration and volume of the titrant. For instance, if 20.70 mL of 0.500 M NaOH is needed to titrate 15.00 mL of HCl, the concentrations can be calculated accordingly, demonstrating the foundational principles of titration.
Next, we have pH Measurement. By employing a pH meter to record the pH at various volumes of titrant added, one can identify the neutralization stage at the inflection point of the pH curve. This stage is characterized by a rapid change in pH, indicating that the acid has been effectively neutralized by the base.
To illustrate, consider the Example Calculation of titrating 25 mL of hydrochloric acid (HCl) with a sodium hydroxide (NaOH) solution of known concentration (0.1 M). If 30 mL of NaOH is needed to reach the equivalence point chemistry, the concentration of HCl can be calculated as follows:
(0.1 M)(30 mL) = C1(25 mL)
Solving for C1 reveals the concentration of the HCl solution, showcasing the practical application of titration in determining analyte concentrations. This example aligns with a case study where 40.50 mL of 0.0150 M aqueous HI is used to titrate 50.00 mL of NaOH, further demonstrating the calculation of balance in a real-world context.
These methods are essential for ensuring accurate titration results, particularly in pharmaceutical applications where precision is paramount. Furthermore, it is vital to utilize indicators—chemicals that change color to signify the endpoint of a reaction—and to comprehend the stoichiometry of the reaction, as the equivalence point does not always represent a 1:1 acid to base ratio. This comprehensive understanding solidifies the foundation for effective titration practices.

Conclusion
Mastering the concept of the equivalence point in titration is fundamental for anyone engaged in quantitative analysis, particularly in the pharmaceutical field where precision is critical. This pivotal moment, when the added reagent completely neutralizes the analyte, serves as the cornerstone for calculating concentrations and ensuring product safety and effectiveness. Understanding this concept not only enhances analytical accuracy but also supports advancements in research and quality control within laboratory settings.
The article delves into various aspects of titration, including:
- A detailed step-by-step guide on performing titrations
- The significance of titration curves
- Techniques for accurately calculating the equivalence point
Key insights highlight the importance of:
- Using appropriate indicators
- Recognizing common errors
- Analyzing titration curves to determine reaction dynamics and ensure the quality of pharmaceutical products
Each element discussed reinforces the necessity of a thorough understanding of titration processes for achieving reliable and valid results.
Ultimately, the knowledge of equivalence points and titration techniques is indispensable for professionals in chemistry and related fields. Embracing these practices not only fosters precision in experimental outcomes but also contributes to the broader goal of advancing scientific inquiry and improving product safety. Engaging with these concepts empowers researchers and quality control specialists to uphold the highest standards in their work, ensuring that the results of their analyses are both accurate and impactful.


