Overview
This article serves as an essential guide for lab managers, detailing the critical steps involved in the titration process, which is vital for accurately determining the concentration of solutes. Proper preparation is paramount; it sets the foundation for successful titration. The correct use of materials and equipment cannot be overstated, as these elements directly influence the reliability of results in quantitative analysis. Furthermore, troubleshooting common issues is crucial for ensuring consistent outcomes. By focusing on these aspects, laboratory practices can be significantly enhanced, leading to improved accuracy and efficiency.
Introduction
Titration stands as a cornerstone of quantitative analysis in laboratories, yet the intricacies of the process can often lead to confusion and errors. This essential guide seeks to demystify the titration steps, equipping lab managers with the knowledge and tools necessary to enhance their analytical precision.
As laboratories increasingly rely on this technique, it is crucial to consider the common pitfalls that could undermine their results. How can these challenges be effectively addressed? This guide will provide insights that not only clarify the process but also bolster the reliability of laboratory outcomes.
Understand the Basics of Titration
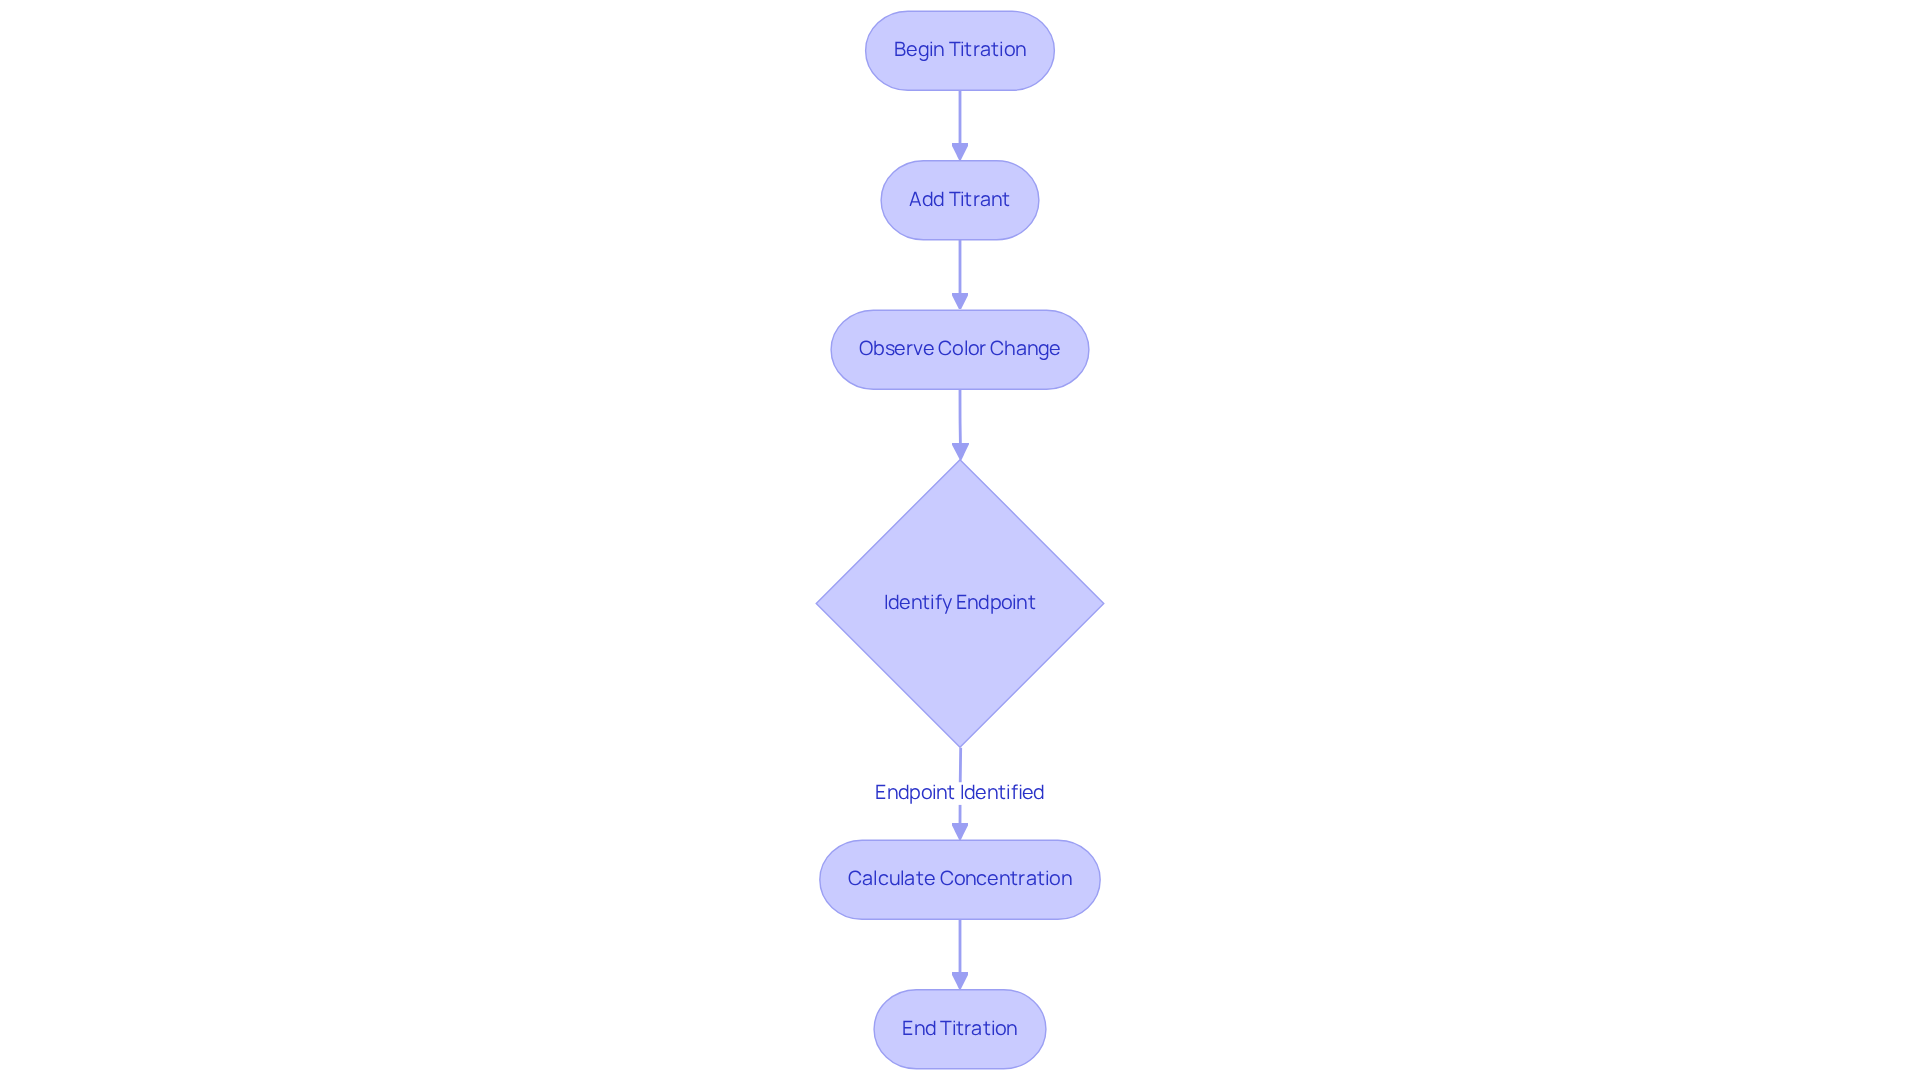
Titration stands as a fundamental quantitative analytical method employed to ascertain the concentration of a solute within a solvent. This meticulous technique involves the precise addition of a titrant—a solution with a known concentration—through titration steps to a sample until the reaction reaches its endpoint, typically indicated by a color change or specific measurement. As of 2025, approximately 70% of laboratories are utilizing volumetric analysis techniques, underscoring its widespread application across diverse scientific disciplines.
A comprehensive understanding of the various types of titrations—such as acid-base, redox, complexometric, and Karl Fischer—is essential for effective laboratory practices. Notably, is distinguished by its capacity to determine water content ranging from 0.001% to 100%, rendering it vital in quality control for pharmaceuticals and other industries. Each titration type serves distinct purposes and necessitates specific techniques. Key concepts, including the equivalence point—where the quantity of titrant equals the quantity of substance in the sample—and the titration steps that illustrate pH changes during the procedure, are critical for precise analysis. As one chemist aptly noted, "The equivalence point is critical; it defines the completion of the reaction and ensures precise results."
The real-world applications of acid-base analysis are prevalent across various sectors, particularly in pharmaceuticals, where they play a crucial role in quality control and product formulation. A solid grasp of indicators—substances that shift color at specific pH levels—further facilitates the identification of the process's endpoint. By mastering these concepts, laboratory managers can significantly enhance their analytical capabilities, ensuring reliable results in their scientific endeavors. Moreover, addressing the challenges faced by laboratories in obtaining dependable instruments, such as those provided by JM Science, can substantially improve the efficiency of measurement methods in practice.

Gather Required Materials and Equipment
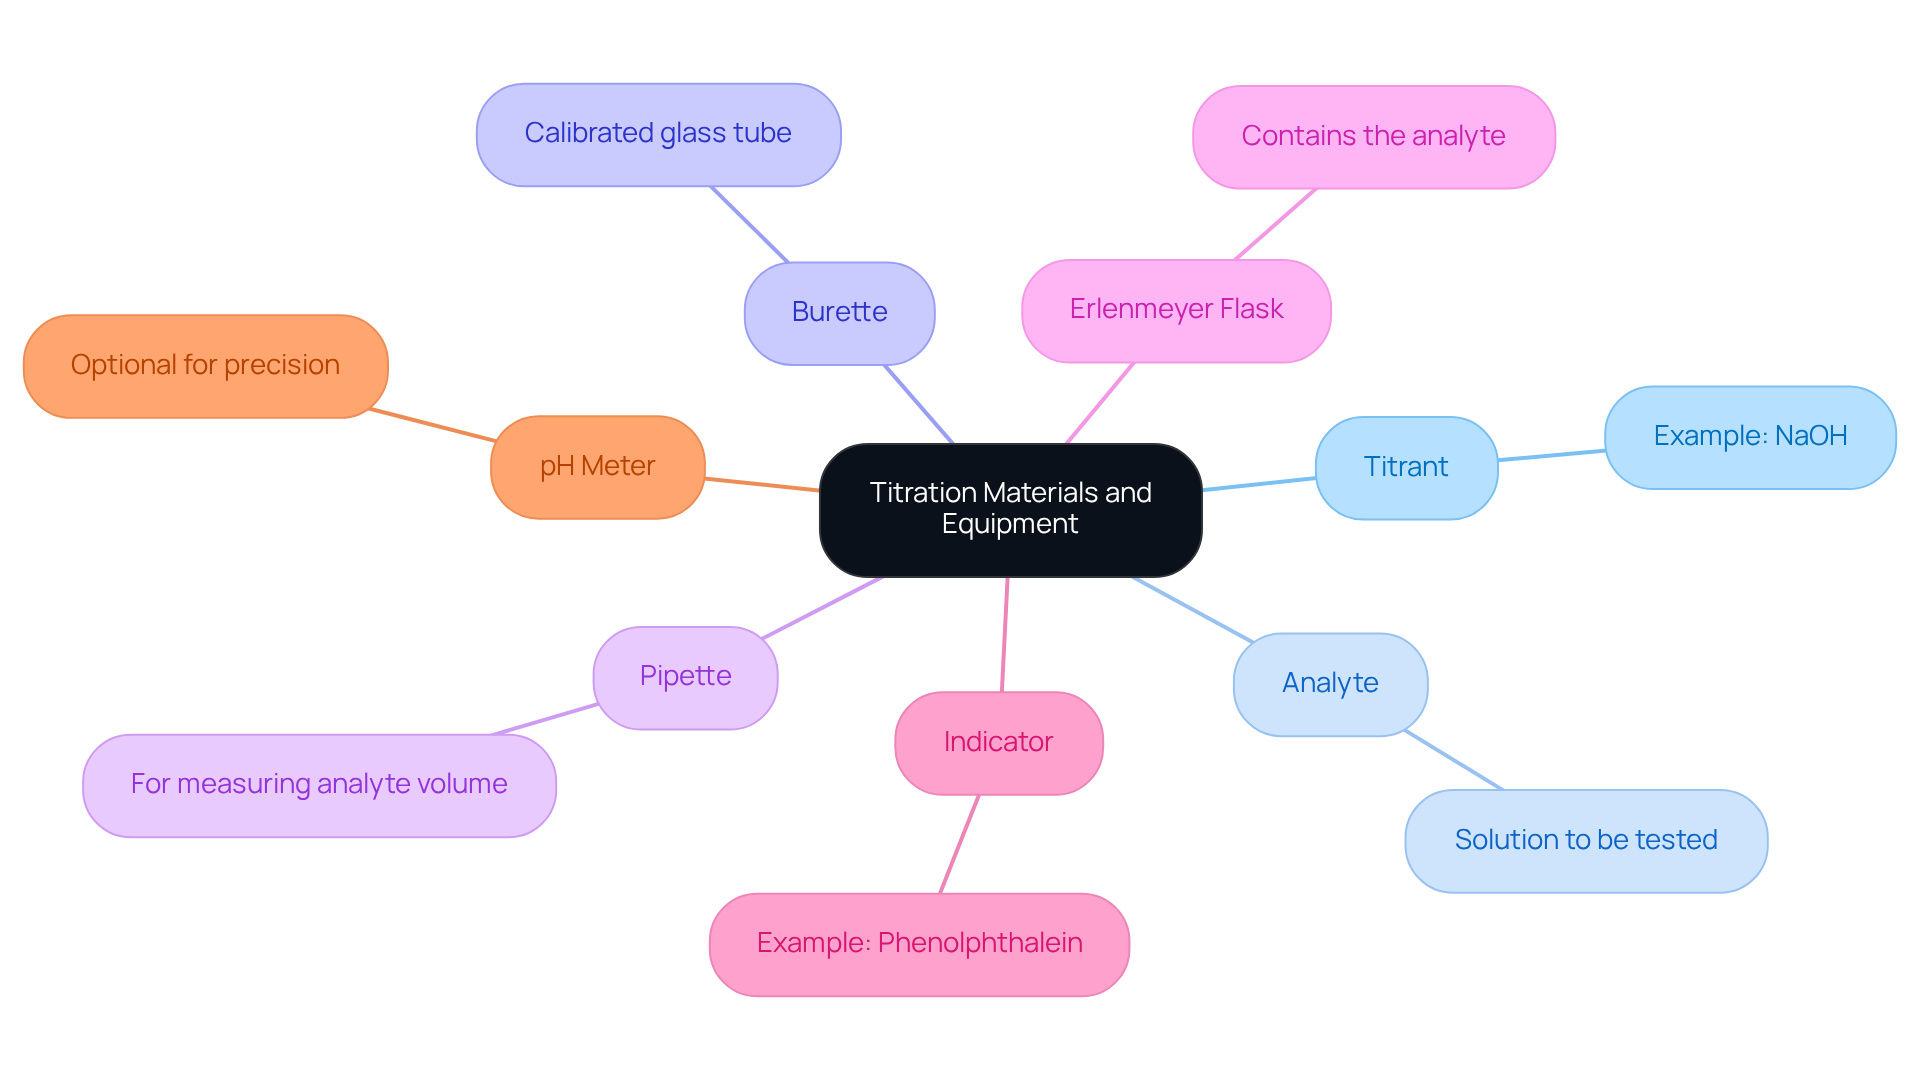
Before commencing the titration steps, it is imperative to gather the essential materials and equipment to ensure accuracy and reliability in your results. The following items are crucial:
- Titrant: This is a solution of known concentration, such as NaOH, commonly used for acid-base titrations.
- Analyte: The solution whose concentration you aim to determine must be prepared.
- Burette: A calibrated glass tube is necessary for the precise dispensing of the titrant.
- Pipette: This tool is essential for accurately measuring the volume of the analyte.
- Erlenmeyer flask: It is used to contain the analyte during the titration process.
- Indicator: A chemical that changes color at the endpoint, like phenolphthalein, is vital for visualizing the titration conclusion.
- pH meter (optional): For those seeking precision, a pH meter can aid in determining the endpoint accurately.
Ensure that all glassware is meticulously cleaned and calibrated during the titration steps to prevent contamination and measurement errors, thereby enhancing the reliability of your titration results.

Follow Step-by-Step Titration Procedure
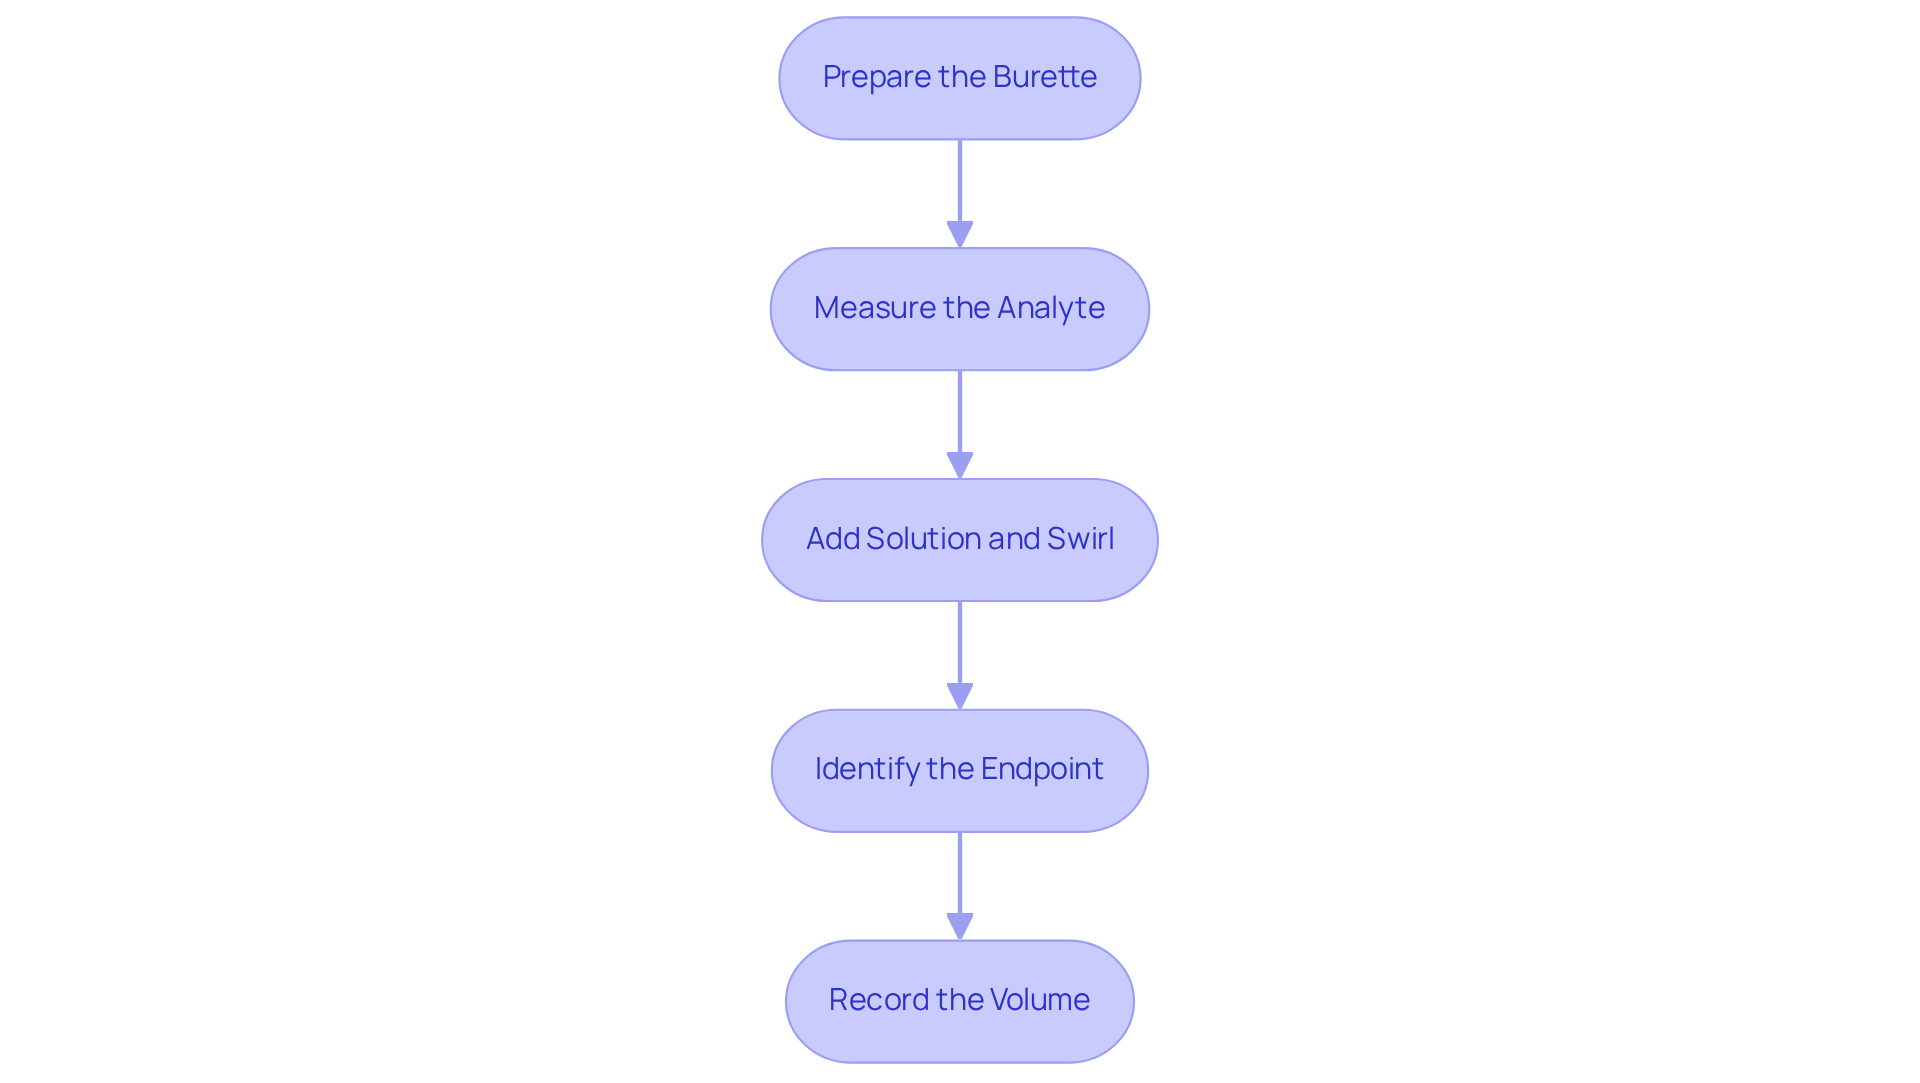
- Prepare the Burette: Begin by rinsing the burette with the reagent liquid to eliminate any risk of contamination. Next, fill the burette with the solution and ensure that all air bubbles are removed from the tip. This step in the titration steps is essential for achieving accurate measurements.
- Measure the Analyte: Utilize a pipette to transfer a precise volume of the analyte solution into the Erlenmeyer flask. To enhance the accuracy of your results, add a few drops of the chosen indicator during the titration steps, which will signal the endpoint.
- Gradually add the solution from the burette to the analyte while continuously swirling the flask. It is essential to observe for a color change or monitor the pH if employing a pH meter, as these indicators will guide you toward the endpoint.
- Identify the Endpoint: Cease the addition of the reagent once the endpoint is reached, which is indicated by a stable color change or the desired pH level. Recognizing this point is vital for the accuracy of your titration steps.
- Record the Volume: Finally, document the final volume of titrant used from the burette. To calculate the concentration of the analyte during the titration steps, apply the formula:
C1V1 = C2V2, where C signifies concentration and V represents volume. This calculation is fundamental for analyzing your results effectively.

Troubleshoot Common Titration Issues
Common issues during titration steps can significantly impact the accuracy of your results. Addressing these challenges is crucial for achieving reliable outcomes in your experiments.
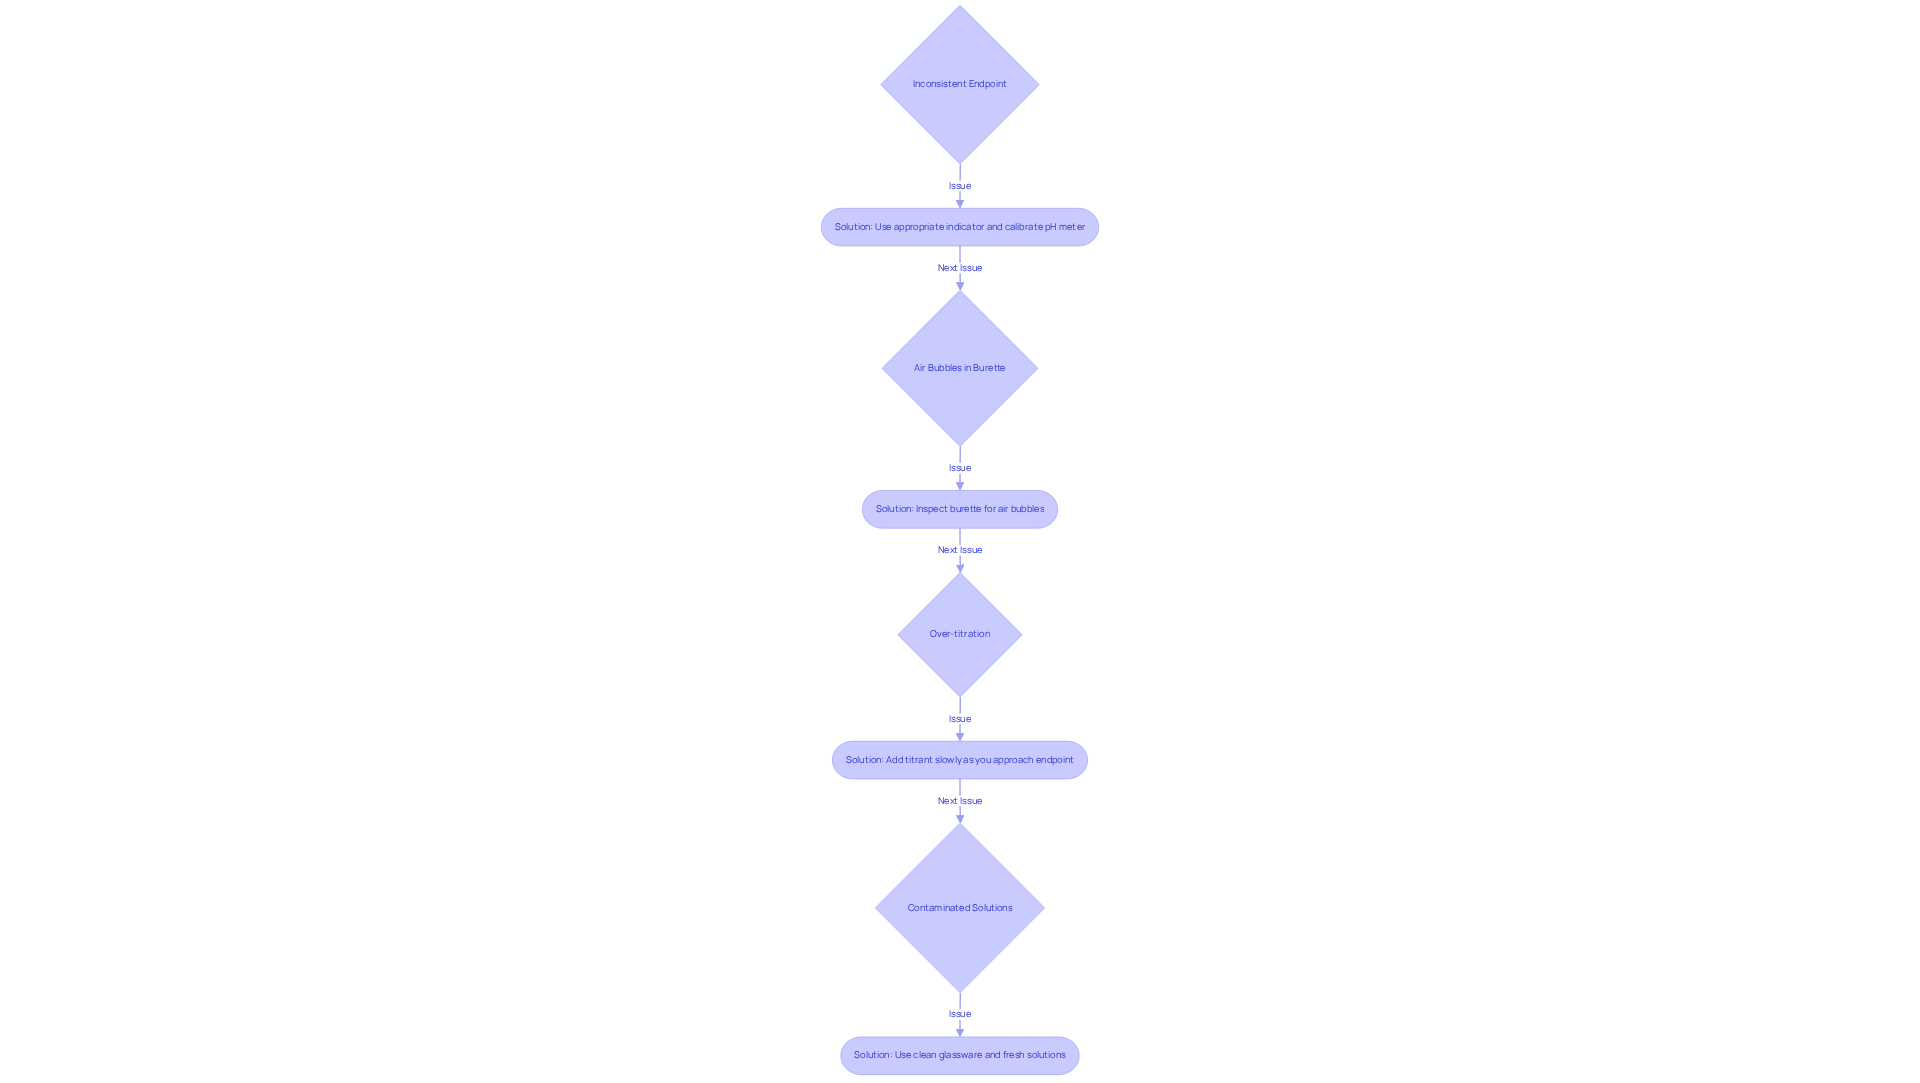
- Inconsistent Endpoint: It is vital to ensure that the indicator used is appropriate for the specific type of titration being conducted. If employing a pH meter, calibrate it meticulously before use to guarantee precise measurements.
- Air Bubbles in Burette: Prior to commencing the procedure, inspect the burette for air bubbles. The presence of air can lead to flawed volume measurements, compromising the integrity of your titration results.
- Over-titration: To prevent overshooting the endpoint, add the titrant slowly as you approach it. This careful approach minimizes the risk of over-titration, ensuring that your results are as accurate as possible.
- Contaminated Solutions: Always utilize clean glassware to avoid cross-contamination between reagents. If your results appear inconsistent, it is advisable to repeat the titration using fresh solutions to ensure accuracy. By following these guidelines, you can enhance the reliability of your titration steps results.

Conclusion
Mastering the titration process is crucial for laboratory managers who aim to ensure accurate and reliable analytical results. This guide has illuminated the essential steps and considerations involved in executing titrations effectively, from understanding the theoretical foundations to implementing a meticulous step-by-step procedure. By grasping these principles, lab managers can enhance their team's capabilities and maintain high standards in their analytical practices.
The article has detailed the various types of titrations, including acid-base, redox, and Karl Fischer, highlighting their specific applications and the importance of using appropriate indicators. Key steps such as preparing the burette, measuring the analyte, identifying the endpoint, and troubleshooting common issues have been outlined to help mitigate potential errors. Each of these elements plays a vital role in achieving precise and accurate results, which are paramount in fields such as pharmaceuticals and quality control.
Ultimately, the significance of mastering titration extends beyond mere technique; it fosters a culture of precision and reliability in laboratory environments. By implementing the best practices discussed, laboratory managers can not only enhance the accuracy of their titration results but also empower their teams to tackle challenges with confidence. Embracing these guidelines will ensure that laboratories remain at the forefront of analytical excellence, driving innovation and quality in their respective industries.


